The way to allocate
partitions and drives is as follows:
Close all
programs.
Control
Panel | AdministrativeTools, click on Computer Management and double click on
Disk Management
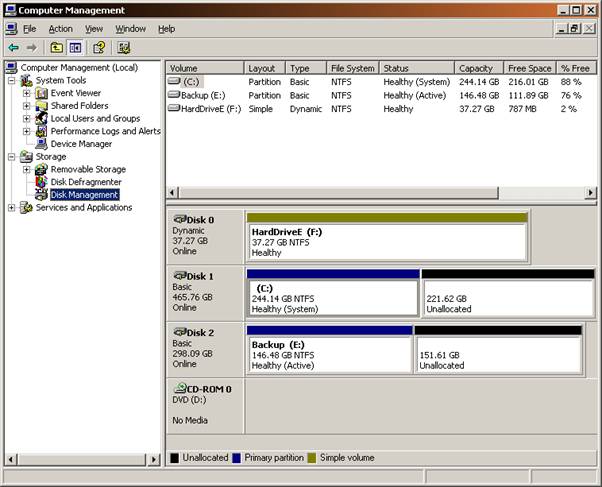
To create a Partition
Right Click
on the Unallocated space against a Disk, choose New Partition and follow the
Wizard.
Note:
When it asks you to select Primary or Extended partition, it is generally
better for drives that are not the main bootable drive, to be Extended. One
Primary is required to boot the system. Other than that, it is fine to make all
other partitions Extended. Following this rule will prevent your drive letters
from changing if you add more drives later.
Note:
When it asks you for the Partition size, if you want to use all of it, this
will be the default.
After the
Wizard is finished, the partition will change from Unallocated to Free Space.
To create a New Logical Drive
Right
Click on the Free Space, choose “New Logical Drive”
Note:
When it asks you to Assign Drive Letter or Path, it will default to the next
spare Drive letter. That is fine, if you are happy with that.
Follow
the Wizard, including the Format Partition step, using the default settings,
except if you want to give the new Volume a name, type it in the Volume Label
box at the Format Partition stage of the Wizard. When finished, you will have a
new Drive letter to access the Free Space.